
Border Chronicles: Exploring Identity, Art, and Life in the Shadow of Two Nations
Border Chronicles: Exploring Identity, Art, and Life in the Shadow of Two Nations
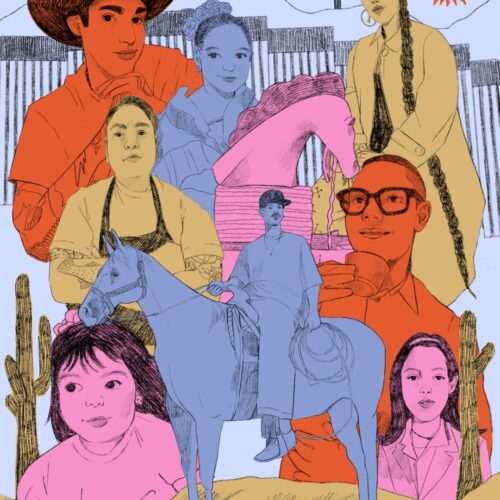
In early 2021, there were challenges in managing immigration at the U.S.-Mexico border, with an increase in the number of migrants, particularly unaccompanied children, arriving in the U.S. This situation strained resources and led to debates over immigration policy and border security. According to data shared by Border Patrol, [...]
Christian Nodal Talks Album Release, Documentary, and New Collaboration With Don Julio
Christian Nodal Talks Album Release, Documentary, and New Collaboration With Don Julio
Christian Nodal is all about keeping his life as an artist feeling like a dream. From his very first single "Adiós Amor" in 2017 to winning a Grammy, wrapping up a fantastic 31-date arena tour, and sparking a fresh wave of regional Mexican music on the Latin charts, he's been [...]
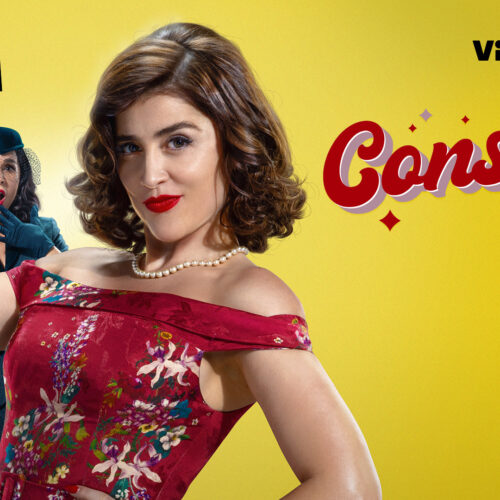
WATCH: New TV Series “Consuelo” Shines a Light on Sex Positivity and Women Empowerment
WATCH: New TV Series “Consuelo” Shines a Light on Sex Positivity and Women Empowerment
Imagine yourself in the 1950s, freshly divorced and suddenly tasked with selling sex toys. It's a scenario that would make your abuela gasp and your mother blush. Yet for Consuelo, it becomes the catalyst for a journey of self-discovery and empowerment. ViX’s latest TV series, “Consuelo,” [...]

Inside Julio Torres’ ‘Problemista’ and its Boundary-Pushing Take on Immigration and Identity
Inside Julio Torres’ ‘Problemista’ and its Boundary-Pushing Take on Immigration and Identity
There’s no doubt that “Problemista” comes from the brain of Julio Torres. His brand of absurdist humor is instantly recognizable, whether it's his work on “Saturday Night Live,” “Los Espookys,” or his HBO Special, “My Favorite Shapes.” In each, he combines cutting social commentary with unique off-the-wall pairings and brings [...]
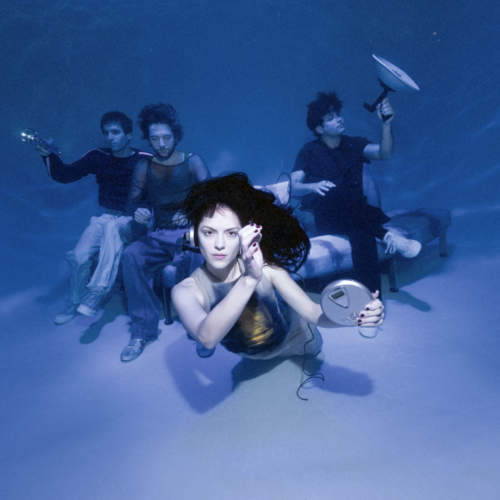
WATCH: The Marías Release “Run Your Mouth” Music Video and Announce Sophomore Album
WATCH: The Marías Release “Run Your Mouth” Music Video and Announce Sophomore Album
Grammy-nominated band The Marías has ignited excitement among fans with the announcement of their highly-anticipated sophomore album, "Submarine," slated for release on May 31st. The band, renowned for their mesmerizing soundscapes and dreamlike melodies, has teased the album with the release of their new single, "Run Your Mouth," offering a [...]

The Most Memorable Moments from 2024 Premio Lo Nuestro
The Most Memorable Moments from 2024 Premio Lo Nuestro
The first major Latin music award show took place last night with the 2024 Premio Lo Nuestro. The big winner of the night was Colombian superstar Karol G with nine awards. Though she wasn’t in attendance, Latin stars Don Omar, Anitta, Grupo Frontera, Carin León, and others delivered memorable performances [...]


WATCH: J Noa Gets Real About Mental Health in Her New Music Video for “Era De Cristal”
WATCH: J Noa Gets Real About Mental Health in Her New Music Video for “Era De Cristal”
In her latest single, "Era De Cristal," J Noa, the 18-year-old Dominican rapper also known as "La Hija del Rap," delves into the depths of her mental health struggles. Directed by Lennyn Salinas, the music video captures J Noa in a poignant dialogue with herself within the confines of her [...]